The Flesh-All Mini-Flesher
Time Tested For Over 30 Years
By D. Price 9/15/2017
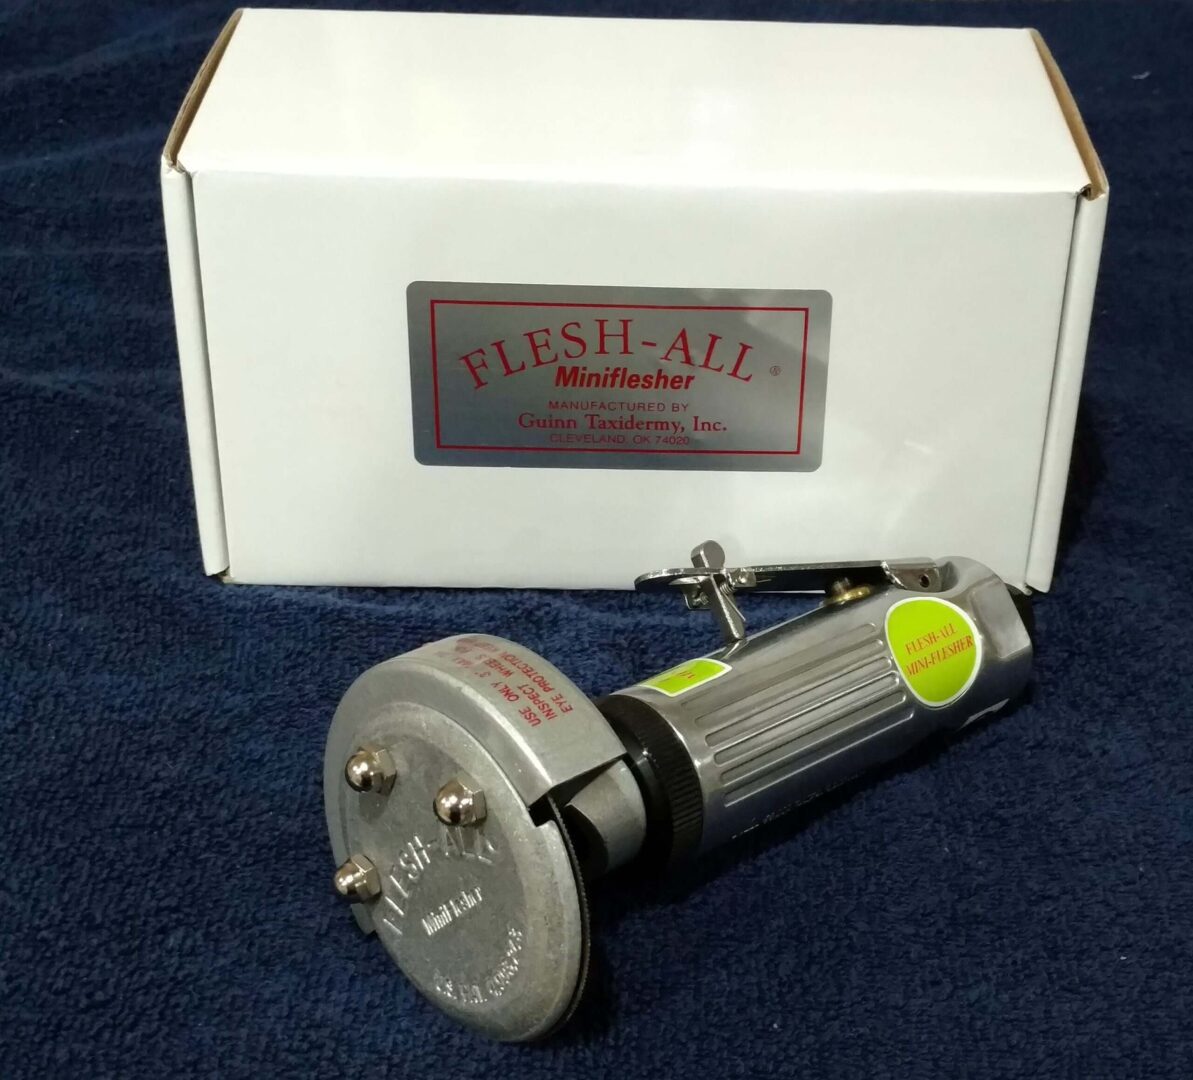
The Flesh-All Mini-Flesher, AKA the Mini Flesher has been going strong since the mid 1980’s and it has proven itself as the industry leader in hand held fleshing/shaving devices. Thanks to Dale Guinn of Cleveland Oklahoma and his idea for the Mini Flesher, hours of time have been saved in the prepping of skins for the taxidermy industry over the last 30 years.
Just a few facts about the Flesh-All Mini-Flesher to help you understand how it works. First, it is a pneumatic or air operated tool. So you do need an air compressor to run it. It is recommended to supply 45-90 PSI of air for optimal performance. The Mini Flesher uses approximately 4 cubic feet of air per minute at 90 PSI to run at full speed. So for best result at least a 2 HP air compressor with comparable tank is suggested. For complete details click here. Also, the Mini Flesher operates with a serrated blade which makes it work more like a wire wheel instead of a knife. As we get into this article you will see exactly how it works and what you can accomplish with it. The Flesh-All Mini-Flesher can be used on many types of animal skins from small game to much larger big game skins. The Mini-Flesher also comes in an electric version Known as the Foredom Flesh-All.
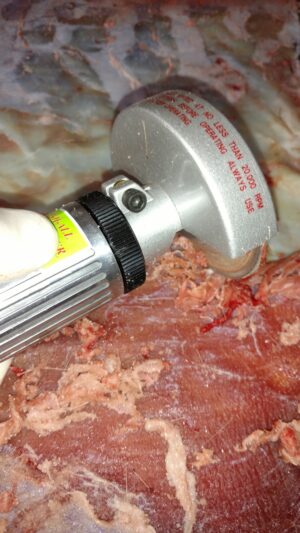
Once the skin has had time to drain, you can begin fleshing. Start by laying the skin on a flat surface such as a table or even better would be a fleshing beam. Begin by taking nice even passes over the area you want to flesh, if the meat is thick you may need to make several passes to get down to the skin. Keep working the Mini Flesher by placing it on the skin and pulling it toward you then picking it up and repeating the same process slightly over lapping the previous pass. This will give you a nice even skin once completed.
So, what do say we flesh a deer hide? First off you want to salt the skin you are going to be fleshing and let it drain for 2-3 hours. This will allow the salt to begin to draw out the moisture in the skin and in the process tighten up the red meat and membrane you are going to be removing. The salting process makes the meat less slimy and helps to keep the mess to a minimum plus makes it easier to remove from the skin.
After a few passes you will begin to see how the serrated blade is working. It shreds or rips the flesh from the skin rather than actually cutting it off, exposing the raw leather underneath.
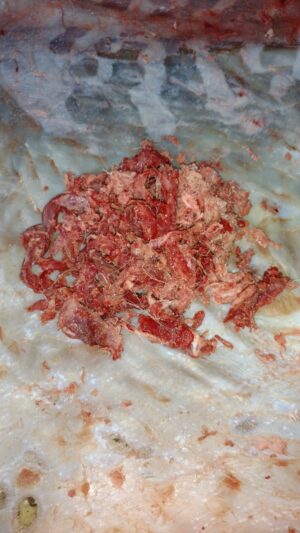
As you continue to work the strips of fleshings will begin to pile up. It is crucial to keep these cleared from you working area.
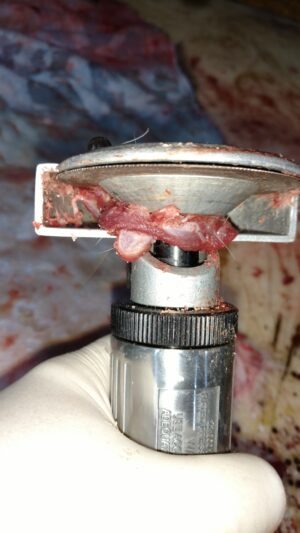
If left to pile up they can and will get sucked up into the Mini Flesher’s blade and cause you to have to stop working and unwind them as they will wrap around the power shaft causing the tool to bog down or even stop completely. If you have to clean out the debris shield area make sure to disconnect air supply first.
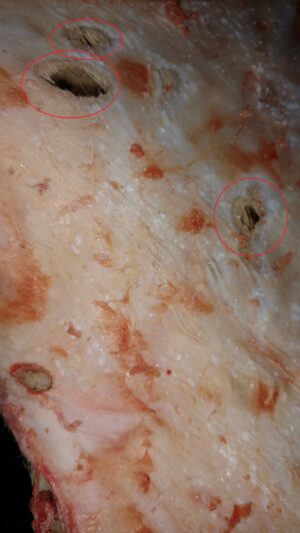
As you are moving the skin around these fleshings can also get caught up under the skin causing the skin not to lay flat, if this occurs and you make a pass over it with the Mini Flesher it will leave a hole in the skin where it was raised up.
Once you have completed the entire skin it is now ready to salt dry and send out to the tannery or for you to home-tan using your normal process. Here I have included a photo of this Whitetail skin which is half fleshed and half unfleshed so you can see what you are able to accomplish with the Flesh-All Mini-Flesher.
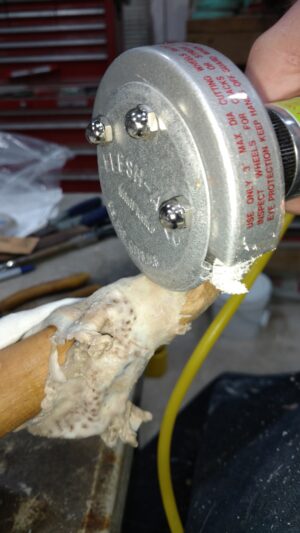
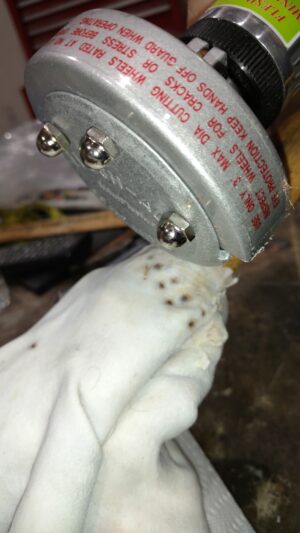
Now moving on, if you tan your own skins you can also use the Mini Flesher to shave or thin down the pickled leather. Again using a flat surface you can easily thin down the thick areas by passing the Mini Flesher over the desired area. You can thin the neck and forehead areas which are usually the thickest part on a Whitetail.
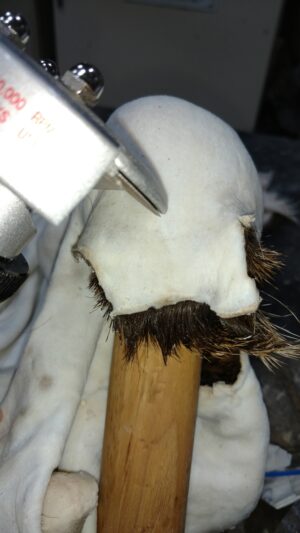
You can also use the Mini Flesher to thin down the more delicate areas, it works great on the nostrils and nose areas over a fleshing beam.
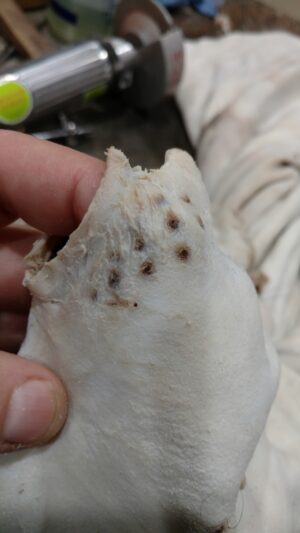
Around the eyes you can get right up to the inner eye skins themselves that will be tucked between the clay and glass eye on your mount.
As you can see here in this photo I shaved right on out to the tip of the eye skin and notice the lines from the serrated blade, much like it would look if you used a wire wheel while fleshing a bird skin.
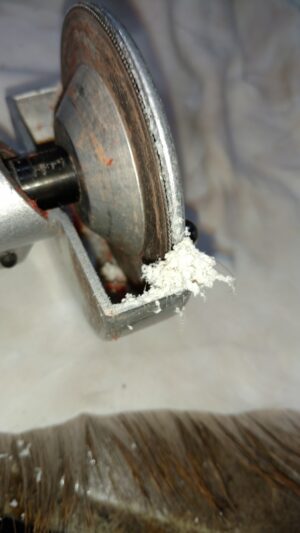
Different than with the fresh skin we fleshed earlier and the strips of red meat we removed, when shaving/thinning a pickled or tanned skin it is more of a damp powdered or dust like material that is removed.
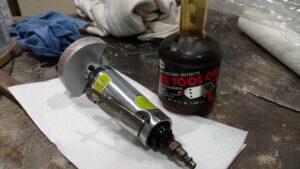
In closing I would like to add that the Flesh-All Mini-Flesher is just like any other tool, if you take care of it, it will last and give you great service. Two of the most important things you can do to prolong the life of the Mini Flesher is to use a moisture trap on your air compressor. Moisture is the #1 enemy or pneumatic tools of any type. It will cause the inner workings of the air motor to rust and seize up. It is also important to lubricate your Mini Flesher after every use with a quality power tool oil, this will help to keep the rust away as well.
Click HERE to see Mini Flesher inventor Dale Guinn demonstrate the Flesh-All in his 4 part video series on YouTube.
As always thanks for reading my articles. I can be reached at www.fleshingmachines.com or 919-562-4280

